Ordering via Desktop
How Does it Work?
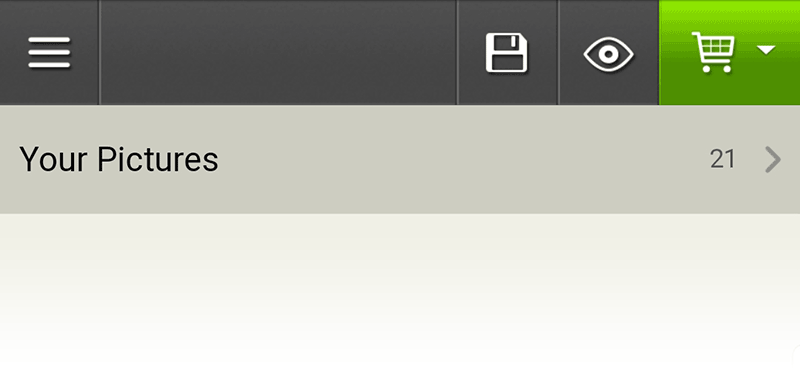
Browse through the products pages to the item and size you want to create.
Clicking the link will take you into the Online Designer where you'll be asked to Create an Account, Sign In, or Continue as Guest. As a guest, you can start a project, but you will need to create an account to save your progress for later or finish your order.
Selecting Pictures
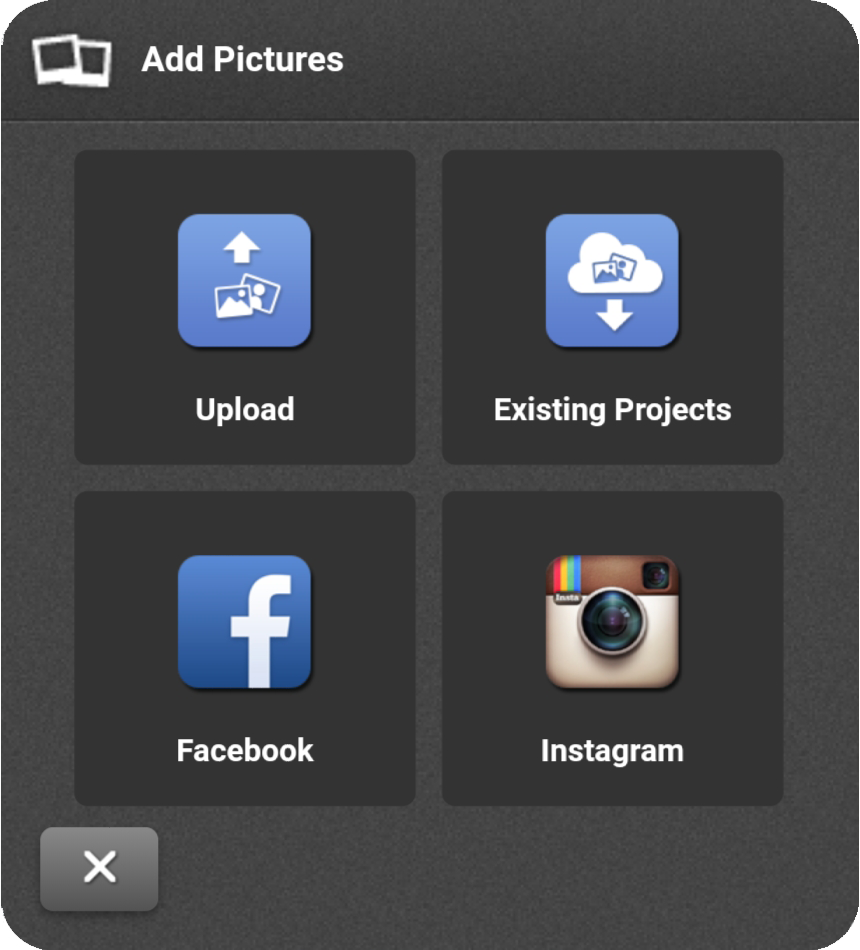
Use the Add Pictures button in the upper left corner to select your pictures. Choose Upload to add photos from your device, Existing Projects to create an item from photos you used on another project, and Facebook or Instagram to use images from your accounts.
Once loaded, photos can be dragged into your project either into existing image boxes or over the background to create new ones.
Options
Project Options:
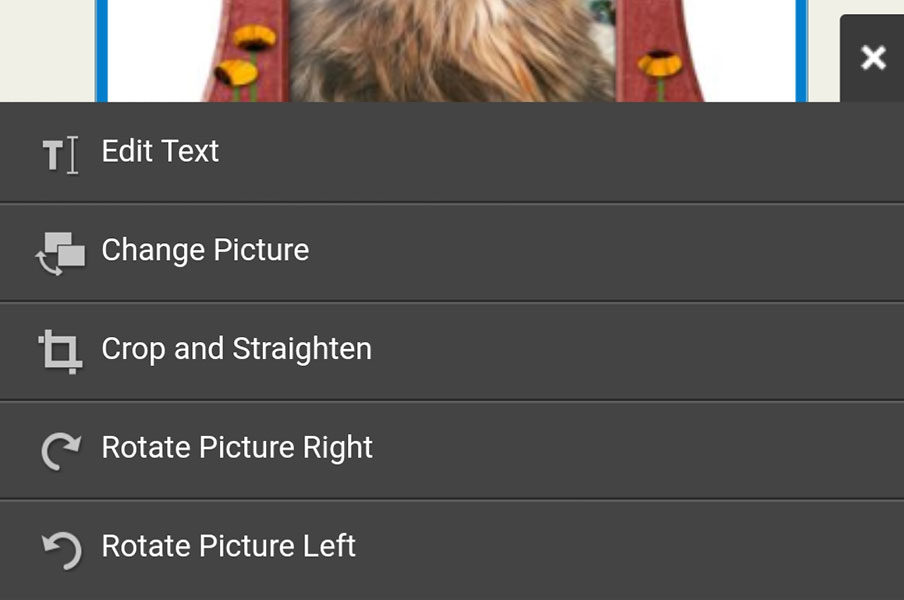
Use the main project option buttons to change the provided layout, add or change a background, add a mask to your picture, add your own picture box, or add text.
Picture Options:

Text Options:

The Text Options buttons allow you to change the font, style, color, alignment, and rotation.
Completing Your Project

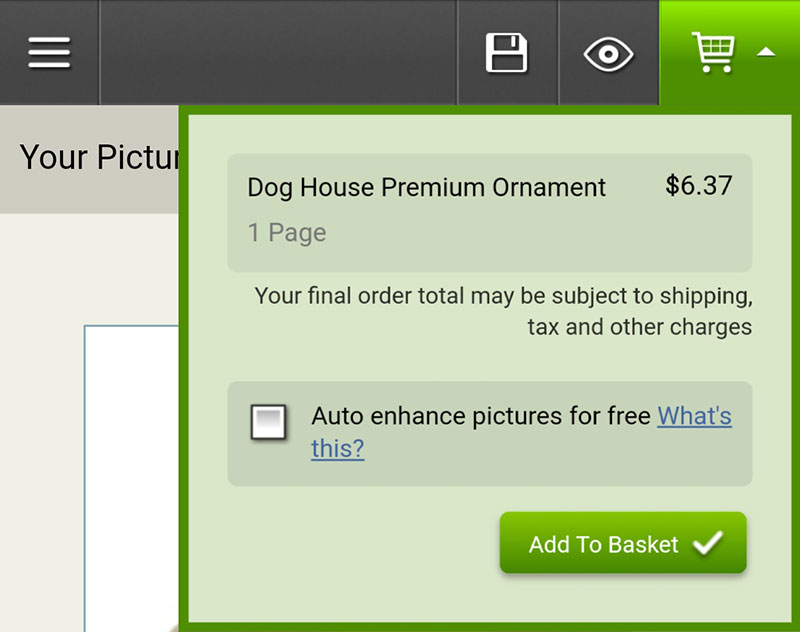
When your project is complete, click the green Order button. You'll be prompted to save it before going to the shopping cart.
You may get warnings for text boxes that aren't filled or images that aren't big enough. You can choose to go back to correct or just click on confirm if you are happy with your project. Please note that small images may not print as desired.
When you checkout, the cart will show your project(s), shipping and payment details. Once completed, you'll receive an email confirmation with a link to your account. There, you can preview, share with others, check your order status or change your account details.
FAQ / More Detail
-
Can I organize my pictures?
-
Click the up & down arrow icon to the right of your pictures to open the Sort Pictures options.
There are several methods for organizing. If you need more space, click the right-pointing arrow above to expand the Pictures Window.
-
How do I rotate my pictures?
-
Click the right-pointing arrow to expand the Pictures Window.
Select the picture to rotate and click the curved arrows in the right corner of the window.
-
How do I get back to the option buttons I want?
-

The option buttons change based on whether you have selected a picture box or a text box. You can use the home button to move up a level, or click an open space in the project area to return to the main options.
-
How do I undo what I just did?
-
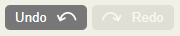
Click the Undo button in the upper left of the project space. You can click Undo to step back through multiple changes.
-
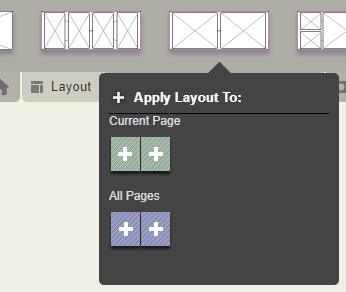
Are there other layouts or designs for this product?
-

Click the Layout button from the main project option buttons. All layouts for that item will be available. Click a layout and choose Current Page or All Pages, if you want to change a whole photo book. You can also drag a layout onto the product.
-
How do I add my own text to a layout that doesn't have any?
-

Click the Add Text Box button from the main project option buttons. Clicking the button will create a text box with a small "T" in it, in the center of your project. Double-click it to open the Edit Text window and type your text. Select the text box and use the Text Option buttons to change the font, style, color, and more. Move the box to where you want it.
-
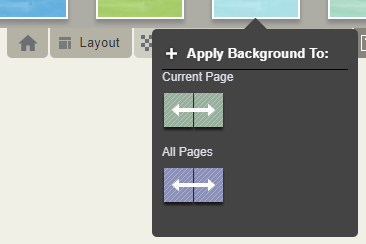
Can I change the background?
-
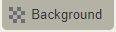
Click the Background button from the main project option buttons.
Click a background color, texture or pattern. Choose Current Page or All Pages if you want to change a whole photo book. You can also drag a background onto the product. Most layouts also allow you to put your own picture in a background.
-
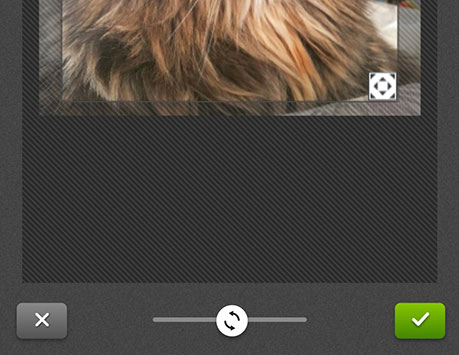
How do I crop my picture?
-
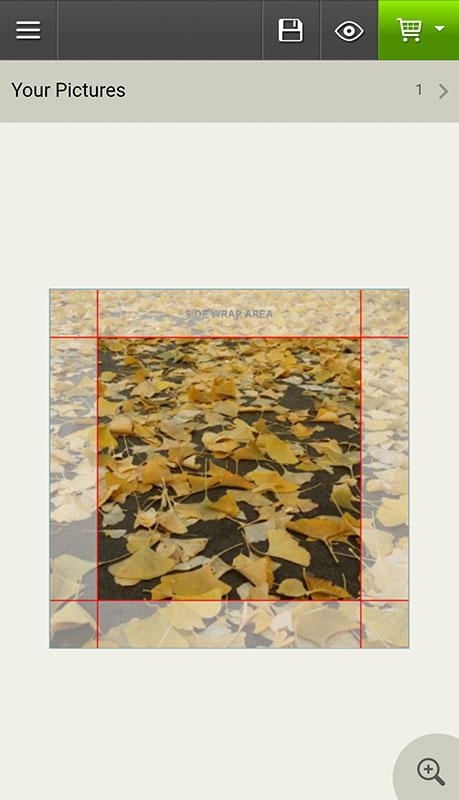
Double-click the picture box to open the Crop window. Slide the crop icon in the lower right corner to crop in on the picture. The box will stay proportional to the picture box in the layout. Move the box so that it is positioned for your crop. The gray lined area indicates the part of the picture that will not show.
-
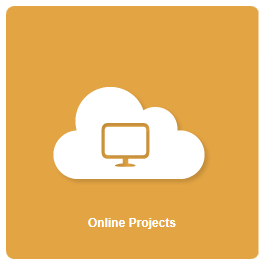
Can I save my project for later?
-
Click the Save button at the top of the window. Name the project and close the browser window.
When you want to complete the project, log into your account and go to Online Projects. Select your project and click the Continue Editing button from the buttons below. Your saved project will open.
-
Why did I get a red circle with an exclamation point? / What is the "Text Overflows Box" warning?
-

If the text that you type will not fit in the text box, you will see a red circle with an exclamation point. The tool tip will say Text Overflows Box. You can resolve this by choosing the Format Text button from the Text Options menu. Then make the font size smaller until it fits in the box.
Or, if the text box is resizable, click to select, then click and drag one of the resize dots on the edge of the text box to make it large enough to fit the text.
-
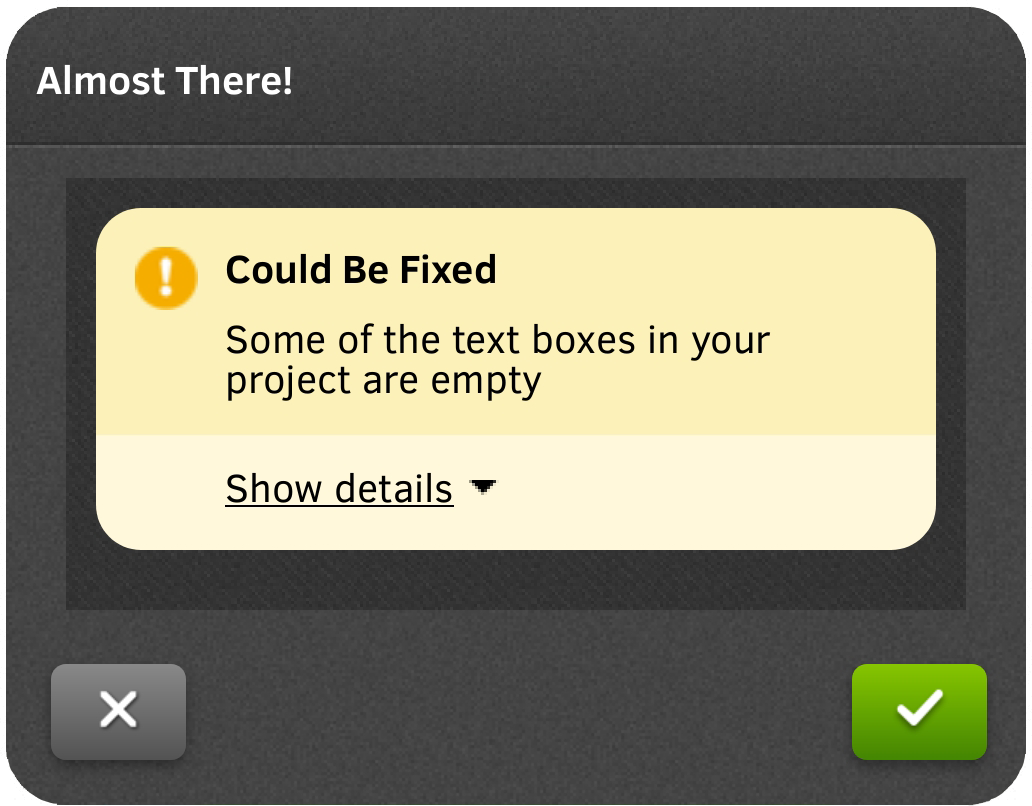
Why did I get a Final Check Result window that said there was an Empty Box?
-
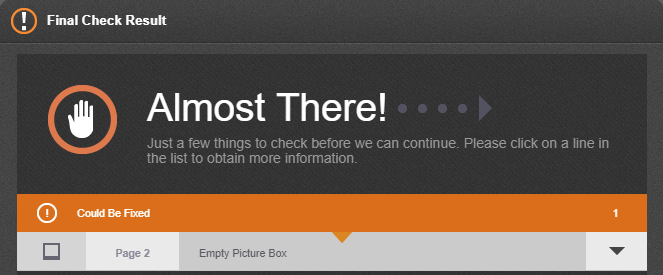
This is a warning that you could add more images or text. If you are sure you are happy with what you've created, just click the Confirm button to proceed to ordering. If you think you've missed something, click Continue Editing to return to customizing your item. From there, you can also click Preview from the navigation at the top of the screen to see how your item will print.
-
Where do I change the quantity?
-
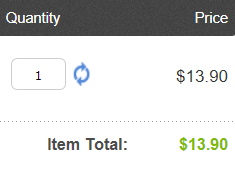
There will be a quantity box next to each project in the cart when you checkout. Adjust the amount and update your totals with the blue Refresh icon.
-
Can I have my order sent to someone else?
-
Yes, you can enter a different shipping address at the Shipping/Billing step in the order process.
-
Where do I enter a voucher code?
-
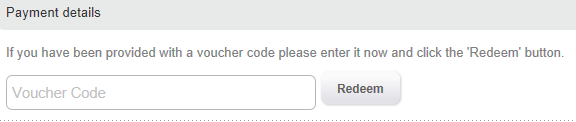
The third step of the order process, Payment, has a place to enter a code. Click the Redeem button to have your discount take effect.